
Reviewed · ANDALSNES TOURS & ACTIVITIES
Geiranger: Sky to Fjord Downhill Biking Adventure
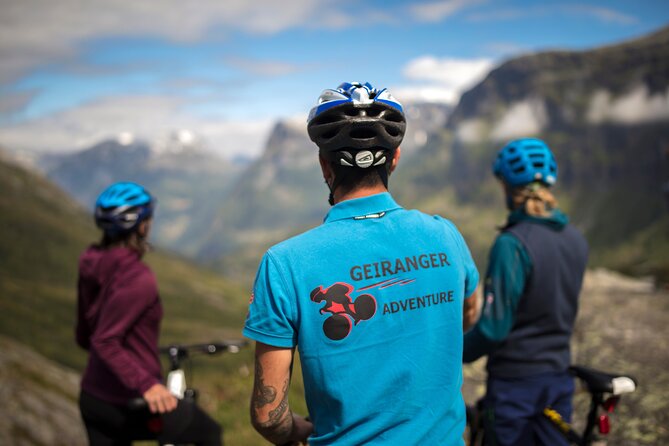
Fjord views and fast tires, all in one run. This Sky to Fjord downhill biking adventure is interesting because you start high above Geiranger and coast your way into the fjord world, with included safety gear and a strong focus on great Flydalsjuvet photo moments.
I like that you get hauled up by air-conditioned vehicle, then handed top-notch equipment plus clear safety and technique tips before you roll. If you want views that actually change every few minutes, this route delivers.
Here’s the one thing to weigh, it’s unguided once you start down, and parts of the road can mean sharing space with bigger vehicles. Also, a small section can involve light pedaling or even a short walk depending on how you feel that day.
In This Review
- Key highlights to know before you go
- From Djupvatn Lake to Geiranger, why this ride feels special
- The 2.5 hours schedule, and where your time actually goes
- Where you stop for photos, Flydalsjuvet and the rest of the route
- Bikes, helmet, vest, and what to check before you start
- Riding unguided downhill, traffic reality, and how to keep it fun
- Weather matters, and it changes the whole vibe
- Getting to the meeting point, and the small-group advantage
- English-speaking staff and mobile ticket convenience
- Price and value: is $160.09 worth it
- Who should book Sky to Fjord downhill biking
- Should you book it, or choose something calmer?
- FAQ
- How long is the downhill biking adventure?
- What’s included in the price?
- Is there a guide during the downhill ride?
- How far do you bike during the ride?
- What physical fitness level do I need?
- What happens if the weather is poor?
Key highlights to know before you go
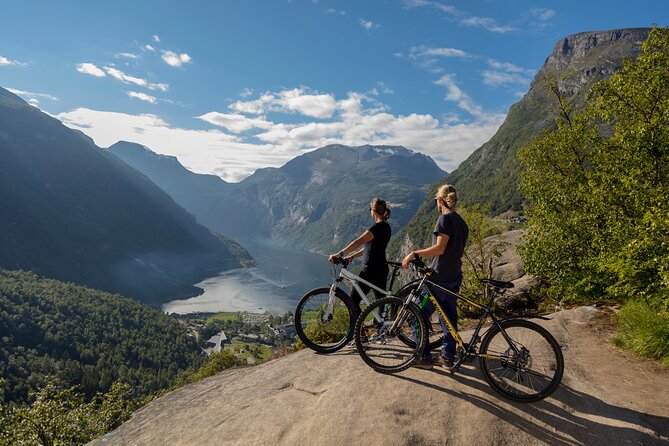
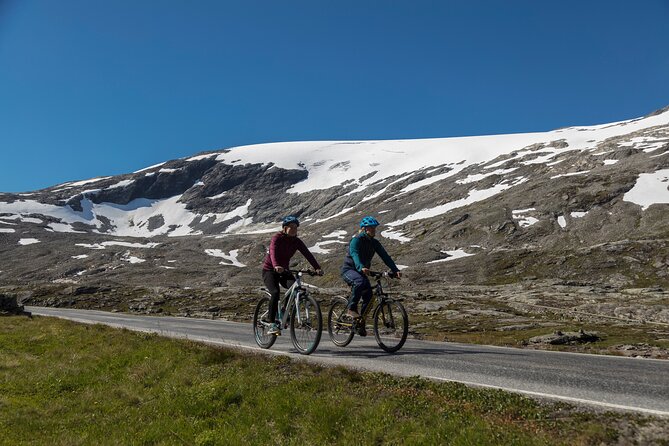
- Start at Djupvatn Lake (1,030 m) and ride a 16 km downhill
- Photo stops built into the ride, including Flydalsjuvet
- Equipment included: bike, helmet, gloves, visibility vest
- Unguided descent, so you ride at your own pace
- Small group size (max 6) for calmer instruction and setup
From Djupvatn Lake to Geiranger, why this ride feels special
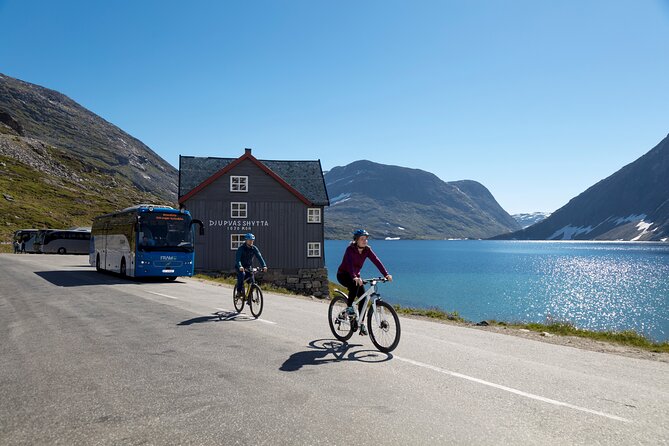
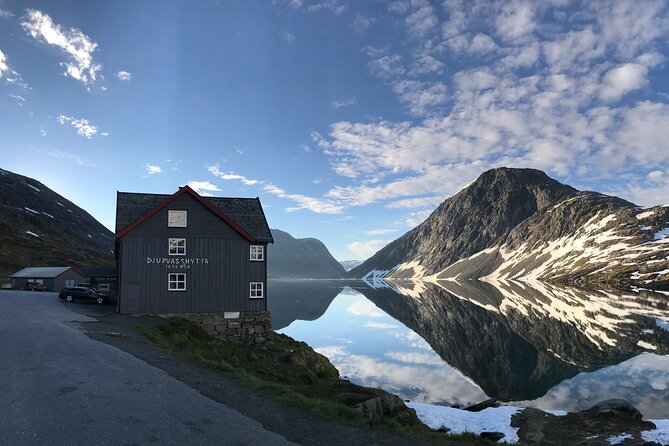
This ride is basically a controlled gravity workout with a fjord obsession. You’re taken up the mountain to Djupvatn Lake, at 1,030 m above sea level, then you spend the downhill portion working your balance, scanning ahead, and taking in the big Norwegian drama: mountains, water, and viewpoints that seem to appear the moment you turn your head.
What makes it memorable is how the scenery timing lines up with your speed. When you’re coasting, you can look, react, and enjoy. When you have to slow, there’s usually a good reason, a viewpoint stop. It’s not just about going fast, it’s about being able to breathe, shoot photos, and keep moving.
I also like the way the trip is set up around real places, not generic pull-offs. You’re stopping where the views matter, and you’re moving through the valleys instead of being stuck in one scenic parking lot.
The 2.5 hours schedule, and where your time actually goes
The total duration is about 2 hours 30 minutes. That includes transport up, getting your bike and safety gear, receiving instructions, then the downhill ride with stops, and finishing back at the meeting point.
In practice, I’d think about it as two phases:
1) Setup and instruction at the top
You’ll meet at Geirangervegen 10 in Geiranger. Then you ride up to the start area near Djupvatn Lake. The team provides equipment and technical and safety instructions, plus tips for riding the downhill bike.
2) The downhill run with viewpoint pauses
Once you start down, you cover 16 km. The stops are spaced so you can take photos without turning the ride into a slow bus tour. One of the stops is Flydalsjuvet, which is called out as the most famous.
You’re done in one session, so it works well if you like your shore excursions active but not exhausting all day.
Where the path branches next in Andalsnes
Where you stop for photos, Flydalsjuvet and the rest of the route
The ride includes several planned viewpoint stops, and that’s a big part of the value. You get a natural reason to slow down, look around, and enjoy.
Here’s what’s on the route:
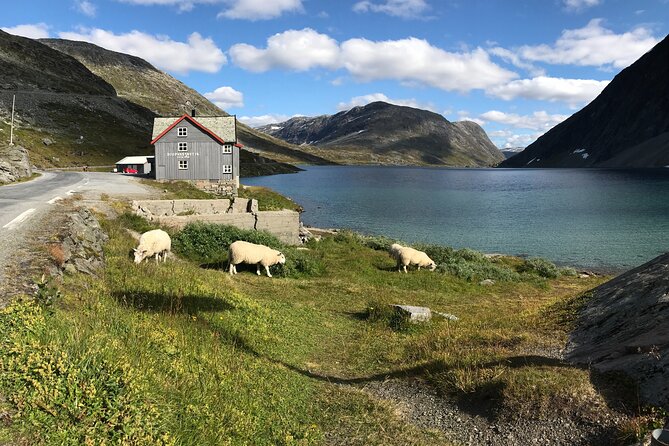
- Stop 1: Flydalsjuvet
This is the standout stop on the itinerary. It’s the one everyone points to as the famous viewpoint, and it’s usually where your camera roll starts to get out of control.
- Viewpoint at the foot of Blåfjell mountain
This stop helps you feel the scale of the mountains around Geiranger. It’s a good chance to stretch your legs and take in the big picture before you keep coasting.
- Kvandalls waterfall
Waterfalls in Norway rarely disappoint, and the timing here makes it feel like a reward. You’ll likely be scanning for it as you ride, then suddenly you’re there.
- Opplenskedalen Valley
This gives you a different type of view than the cliff edges. Instead of only looking down, you can read the valley and the way the road threads through it.
- Knuten
This stop rounds out the sense that the ride is moving through several distinct “moments,” not just one long descent.
Important reality check: the ride is on a road people also use. So even though there are stops, you still need to ride with attention. Think of the pauses as photo chances, not traffic-free zones.
Bikes, helmet, vest, and what to check before you start
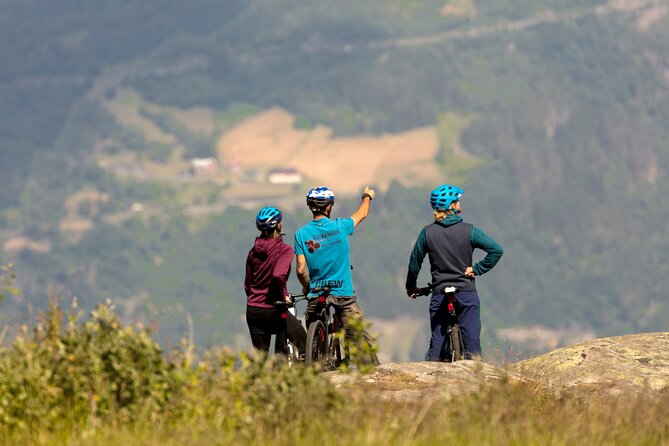
The tour includes a bike plus safety gear: helmet, bicycle gloves, and a visibility vest. That’s excellent for comfort because you’re not trying to match random gear to a high-speed downhill.
Still, I’m going to be practical here. One piece of feedback in the information I was given was about equipment quality issues, like tires with poor tread, helmets that didn’t fit well, and brakes that felt sticky. Another set of feedback said equipment was excellent and easy to manage. So treat this as a “check before you roll” situation.
Before you ride:
- Check your helmet fit and strap tension. If you can’t get it snug without pain, ask for adjustment.
- Make sure your seat height feels right. If you can’t comfortably reach pedals and handle the bike, request a change.
- Give the brakes a couple of gentle tests at low speed. You want predictable stopping.
- Look at tire tread. You don’t need to be a mechanic, just make sure it looks usable for a downhill road.
You’ll get instructions at the top, and that helps. But your body needs to trust the bike from the first minute.
Riding unguided downhill, traffic reality, and how to keep it fun
This is where the experience can swing from great to stressful depending on your comfort and the road conditions. The downhill ride takes place without the presence of a guide. That means once you’re at the top and set up, it’s more like an organized self-ride with viewpoint stops than a lead-by-an-instructor experience.
That setup has pros and cons.
Why the unguided format can be great
- You can ride at your pace.
- You can stop for photos without feeling rushed.
- You can choose to take that one viewpoint longer than planned.
Why you should plan for the road
One key consideration is that parts of the downhill route can mean sharing a narrow road with larger vehicles. So don’t assume you’ll have a wide bike lane. Also, if you’re less experienced or nervous around traffic, the unescorted format means you need to be your own risk manager.
A smart approach:
- Start slow for the first stretch so you understand how the brakes and steering feel.
- Keep your focus on what’s ahead, not just on the view. Norway’s views are gorgeous, but you still need clean lines.
- If a section feels too busy, you can choose to adjust your plan. In the information provided, a driver was described as gracious when a rider decided not to ride down due to road comfort concerns. That tells me the staff are human and responsive, so talk to them early if you feel unsure.
Also, be aware that there may be a small uphill effort. Some feedback described a short segment where you might need to pedal slightly uphill. Others mentioned walking one small uphill part. So treat this as downhill-first, but not zero-effort.
Still ahead on the route through Andalsnes:
- Geiranger Shore Excursion: Mt. Dalsnibba and Eagle Road
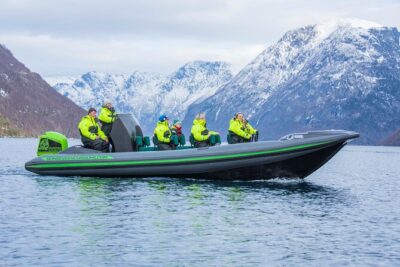
★ 4.5 · 718 reviews - Geiranger: RIB Fjordsafari Geirangefjord
★ 4.5 · 651 reviews - Guided Boat Tour in Geiranger
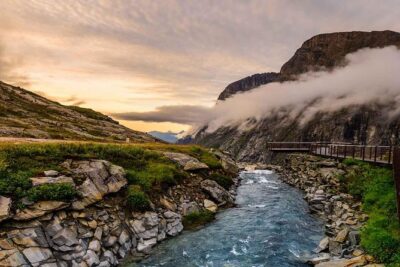
★ 4.5 · 147 reviews - Andalsnes Shore Excursion: the Troll Road and Troll Wall
★ 4.5 · 144 reviews
Weather matters, and it changes the whole vibe
This activity requires good weather. If conditions are poor, it can be canceled and you’ll be offered a different date or a full refund. That’s not just a fine-print detail. In a downhill ride, rain, wind, or reduced visibility can make a huge difference in how confident you feel on the road.
If you get clear skies, you’ll likely feel like you’re moving through a postcard. Clear weather was mentioned as making the ride even more memorable. But even with changing clouds, the fjord and mountain shapes still have drama. Just don’t underestimate slick surfaces in wet conditions.
Getting to the meeting point, and the small-group advantage
The meeting point is Geirangervegen 10, 6216 Geiranger, Norway. The tour ends back at that same meeting point, so you’re not left figuring out a separate drop-off.
The group is capped at a maximum of 6 travelers. That small size is a quiet quality-of-life upgrade. It means more attention during the setup phase, and less waiting around while you wait for someone else to figure out their helmet strap.
You’ll also be traveling by air-conditioned vehicle for the transfer up and back. That matters in Norway too, because even when it’s not scorching, being dry and comfortable while you get geared up makes the experience smoother.
English-speaking staff and mobile ticket convenience
The experience is offered in English, and you’ll receive confirmation at booking time. You’ll also get a mobile ticket, which is helpful if you’re bouncing between shore excursions and trying to keep your phone organized for all the entry steps.
Near public transportation, so if your day is built around buses or shuttles, this isn’t an awkward puzzle to solve.
Price and value: is $160.09 worth it
The price is $160.09 per person, and the duration is about 2 hours 30 minutes. That’s not cheap, but it can be fair value depending on what you care about most.
Here’s how I judge it:
- You’re paying for more than a bike rental. You get transport up in a vehicle, plus included safety gear, plus setup and downhill bike technique instructions.
- You’re paying for the scenery access. The ride is built around specific viewpoints, including Flydalsjuvet, plus the Blåfjell foot viewpoint, Kvandalls waterfall, Opplenskedalen Valley, and Knuten.
- You’re paying for the thrill. If you want active sightseeing with speed and big views, this is one of the more direct ways to get it in Geiranger.
Still, one piece of feedback called out that it didn’t feel like a full guided tour since the descent is unguided. That may matter to you. If you want an instructor riding beside you and telling stories at each stop, this setup might feel bare-bones for the money.
My take: it’s worth it if you’re comfortable riding on a shared road and you’re happy to manage your own pace. It’s harder to justify if you want lots of guiding time, because the ride is mostly self-directed after the initial instructions.
Who should book Sky to Fjord downhill biking
This experience is best for:
- People with moderate physical fitness who can manage a short uphill pedaling effort or an optional walk.
- Anyone who likes adrenaline without doing a full-day hike.
- Riders who are okay being responsible for themselves once they start downhill.
It’s not ideal for:
- First-time riders who get anxious around traffic.
- People who need step-by-step guiding from start to finish.
- Anyone who expects a fully closed, bike-only route.
If you’re 67, you can still enjoy it, based on positive feedback about maneuvering the nearly 10 miles of roadway with incredible fjord views. So the fitness bar seems more about confidence and control than athleticism.
Should you book it, or choose something calmer?
Book it if you want a high-impact Geiranger experience that combines transport up, included gear, and a downhill route with serious viewpoint stops. The fact that it’s small-group and time-efficient makes it a strong shore excursion option, especially if you’re chasing the feeling of going somewhere fast while still having time to take in the views.
Consider skipping or asking extra questions before you start if you’re worried about road sharing, bike fit, or equipment condition. Since the descent is unguided, your comfort level matters more here than on a guided ride.
If you do book: do a careful equipment and helmet fit check, ride slow for the first section, and treat the viewpoints as part of the fun plan, not a separate sightseeing errand.
FAQ
How long is the downhill biking adventure?
It takes about 2 hours 30 minutes (approx.) from start to finish.
What’s included in the price?
You get a bike, helmet, bicycle gloves, and a visibility vest. You also get an air-conditioned vehicle for transportation to and from the biking location.
Is there a guide during the downhill ride?
Guiding is not included, and the downhill ride takes place without the presence of a guide.
How far do you bike during the ride?
You cover about 16 km downhill from the starting point near Djupvatn Lake, with planned viewpoint stops along the way.
What physical fitness level do I need?
You should have a moderate physical fitness level.
What happens if the weather is poor?
The experience requires good weather. If it’s canceled due to poor weather, you’ll be offered a different date or a full refund.
If you want, tell me your riding experience level and whether this is a cruise stop or a land stay, and I’ll help you decide how to time it with other Geiranger activities.
Newly marked on the map for Andalsnes
- Geiranger Fjord Tour with Waterfall Tasting★ 4.5 · 13 reviews
- 2-Hour Guided Kayak Experience in Geiranger★ 4.5 · 14 reviews
- Geiranger: Excursions.no Geiranger Highlights★ 3.5 · 19 reviews
- The Golden Train on Rauma Railway in Romsdalen★ 4.5 · 21 reviews
- Kayak Tour with Waterfall Views in Geiranger★ 4.5 · 45 reviews
- Guided kayak tour “The Seven Sister Tour” on the Geiranger Fjord – 4 h★ 5.0 · 47 reviews
- Via Ferrata Åndalsnes West Wall★ 5.0 · 65 reviews
- Via Ferrata Åndalsnes Intro Wall★ 5.0 · 84 reviews
Andalsnes Tours & Activities, compared.
Geiranger Shore Excursion: Mt. Dalsnibba and Eagle Road
Read our review →
Andalsnes Shore Excursion: the Troll Road and Troll Wall
Read our review →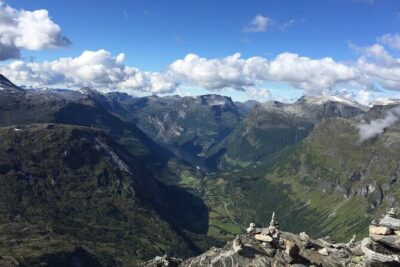
Browse the lists this tour appears in