
Reviewed · PHOTOGRAPHY SESSIONS
Svolvaer: Lofoten Gems Photo Tour – Reine, Hamnøy & Å
Lofoten looks like a photo set, but it moves fast. I like this tour because it pairs white-sand beach time with classic fishing-village scenes like Reine’s rorbuer cabins. You get a pro, English-speaking guide who helps you translate what you see into photos, not just sightseeing. One thing to consider: with multiple stops packed into a 7-hour day, you’ll want to be ready to walk a bit and move on while the light is good.
You also travel in a comfortable minivan with a small group (max 8 adults). That matters in Lofoten, where the good photo angles often depend on quick parking and short walkabouts, not long hangs around one spot.
The main downside is simple: there’s no meal included, so plan for snacks you can buy on your own between viewpoints. And bring your camera, since that’s the point of the day.
In This Review
- Key highlights you should care about
- Setting off from Svolvær: the value of starting in the right place
- Getting to photo-ready viewpoints in a comfortable minivan
- Skagsanden Beach: white sand, clear water, and the basics of clean photos
- Hamnøy: red rorbuer, dramatic peaks, and a bridge viewpoint you can repeat
- Sakrisøy and Anita’s Seafood: yellow rorbuer plus an authentic taste stop
- The “take off” e-bike moment: adding a different way to move and shoot
- Reine viewpoint: a village of islands, bridges, and fishermen’s cabins
- Å, at the end of the Lofoten Islands: red cabins, cod-drying racks, and big coastal drama
- Guide quality that makes the photos better, not just the views
- Price and value: what $162 buys you in real time
- What to bring and how to prep for a camera-first day
- Should you book this Lofoten Gems Photo Tour?
- FAQ
- How long is the Svolvær Lofoten photo tour?
- What is the group size?
- What languages does the guide speak?
- Where does pickup and drop-off happen?
- Is transportation included?
- What should I bring?
Key highlights you should care about
- White-sand Skagsanden Beach for clean reflections and simple, strong compositions
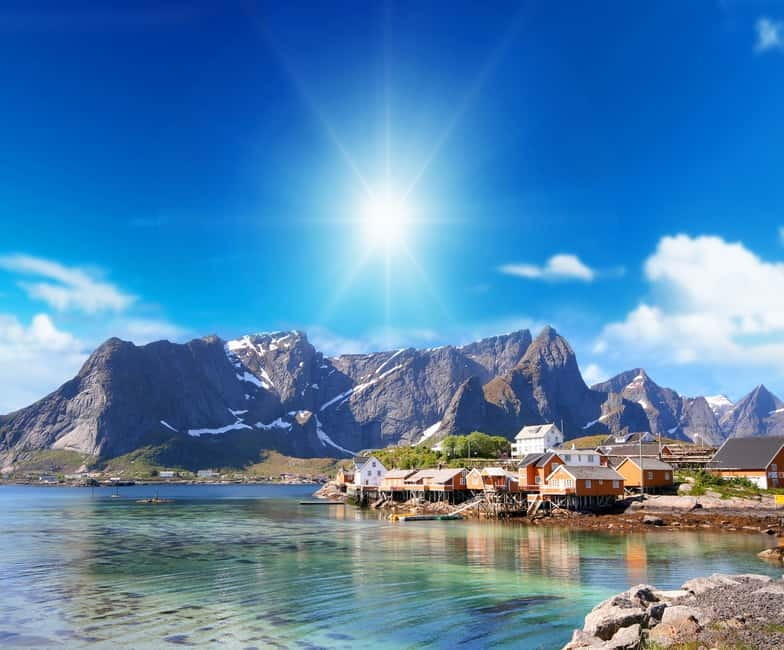
- Hamnøy rorbuer with the red-cabin look that people come to Lofoten for
- Sakrisøy contrast with yellow rorbuer plus a quick stop at Anita’s Seafood
- Reine viewpoint framing to capture fishing cabins and Reinefjord islands from a higher angle
- Å at the end of the Lofoten chain, where cod-drying racks and red rorbuer give you the full “Arctic working coast” vibe
Setting off from Svolvær: the value of starting in the right place
This tour starts in Svolvær, which is a smart base if you want the iconic Lofoten scenes without adding extra transfers. You pick one of three pickup points: Svinøya Rorbuer, Thon Hotel Lofoten, or Svolvær Tourist Information. Then you meet the guide outside your chosen venue, and the minivan does the heavy lifting.
I like that this is built for real timing. You’re not just driving from one landmark to another with no plan. You’re also not stuck on one street corner for hours. The guide’s job is to help you find a usable viewpoint, understand what you’re looking at, and get your camera ready before the moment passes.
If you’re traveling with a mix of experience levels, small-group format helps. With a maximum of 8 adults, you’re more likely to get attention when you ask a question, instead of getting lost in the crowd.
Getting to photo-ready viewpoints in a comfortable minivan
The minivan matters more than it sounds. In Lofoten, you can lose a lot of time to parking, uneven pull-offs, and stepping out in wind and shifting light. A comfortable vehicle helps you stay focused on the stops, not the commute.
Here’s what also helps: the tour is built as a 7-hour photo day. That’s long enough to see several villages and beaches, but short enough that you’re not exhausted by the time you reach the best scenes. And because it’s small-group, you’re not waiting forever while someone figures out where they are in the group.
English is the working language with a live guide, so you can follow directions quickly. That means fewer missed shots and less time spent guessing.
More frames worth the tripod:
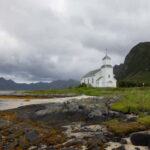
Skagsanden Beach: white sand, clear water, and the basics of clean photos
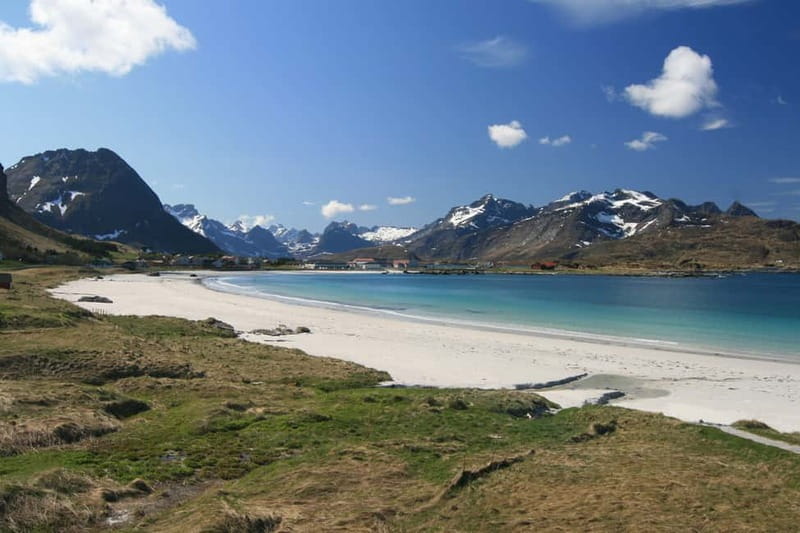
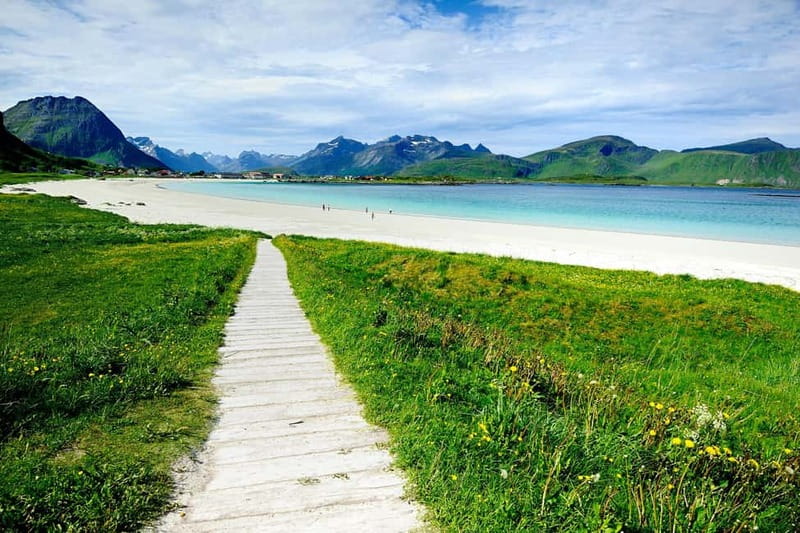
The first big stop is Skagsanden Beach. The tour description calls out the key ingredients: white sand meeting crystal-clear water, backed by towering mountains. It’s the kind of place where a few simple choices pay off fast, like keeping your horizon straight or using mountain shapes to frame the shore.
What you’ll like here is how calm the scene feels compared to the more built-up fishing villages. You get a stretch of coastline that’s more about atmosphere and reflection than big architecture. For photography, that’s useful, because you can practice different ways to shoot water, sand texture, and mountain lines without feeling rushed.
Practical note: this is a beach stop, so move at a photo pace. Don’t try to do everything. Pick one or two angles and get a set. Then, when the tide or light shifts, you can work a second set quickly.
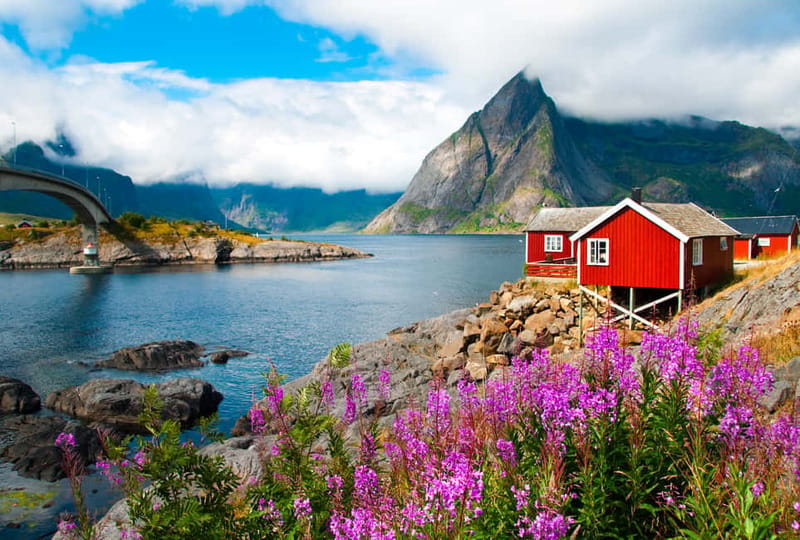
Hamnøy: red rorbuer, dramatic peaks, and a bridge viewpoint you can repeat
Next comes Hamnøy, one of Lofoten’s most photogenic fishing villages. The hallmark here is the red rorbuer, those classic fishermen’s cabins, set against deep water and dramatic peaks.
The tour route gives you a bridge viewpoint, which is exactly the kind of angle that turns a village into a postcard. From up there, you can show the rorbuer with more context, meaning you get both the cabins and the surrounding peaks and water, not just a close-up of one building.
What makes this stop valuable is the contrast between colors and geometry. Red cabins against dark water gives you easy color separation. Peaks add shape, and the bridge viewpoint gives you a stable composition you can shoot more than once.
One possible drawback is crowd control. While this is a small-group tour, bridge viewpoints are still public, and you might have to work around other photographers. The fix is simple, keep your camera ready, and adjust your framing instead of waiting for perfect emptiness.
Sakrisøy and Anita’s Seafood: yellow rorbuer plus an authentic taste stop
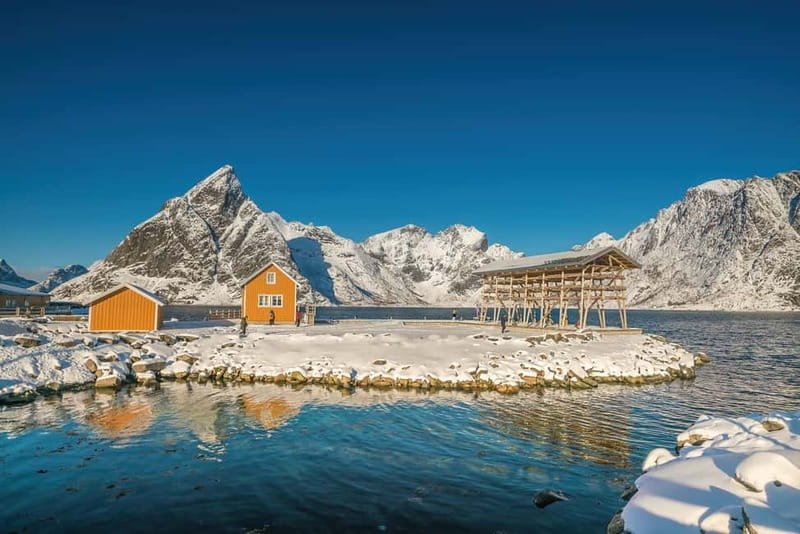
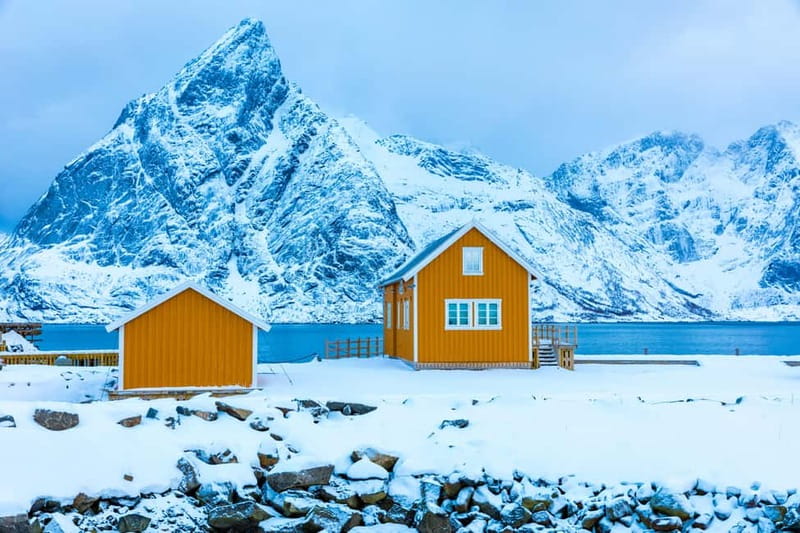
A short drive brings you to Sakrisøy. Here, the signature is yellow rorbuer, which creates a strong color shift compared to Hamnøy’s red cabins. The sea around the peninsula is deep and dark in contrast, so your photos tend to look more dramatic with less effort.
The tour includes a guided stop at Sakrisøy for about 20 minutes. That time is short, but it’s enough to get your bearings, find the key photo angles, and then break for something local.
You also have a stop at Anita’s Seafood, described as a historic spot where you can discover delicious local delicacies. Even if you do only a quick bite, it’s one of the better ways to turn a photo tour into a more complete Lofoten experience. A village scene becomes more meaningful when you connect it to the working coast tradition, not just the visual.
If you’re photographing people, be respectful and keep moving. In a working fishing area, the mood is practical, not staged. That’s part of why the scene feels real.
Where the path branches next in Svolvaer
- From Svolvær: Lofoten Islands Silent Trollfjord Cruise
★ 4.8 · 2,979 reviews - From Svolvær: Lofoten RIB Sea Eagle Safari Trollfjord Cruise
★ 4.9 · 908 reviews - From Svolvær: RIB Boat Lofoten Trollfjord Sea Eagle Safari
★ 4.9 · 754 reviews - From Svolvaer: Sea Eagle Safari to Trollfjord
★ 4.9 · 623 reviews
The “take off” e-bike moment: adding a different way to move and shoot
At one point in the day, the tour includes a guided segment labeled as a take off e-bike. The goal is to give you another way to cover ground and access viewpoints during the photo day.
I like this kind of add-on when it’s guided, because you don’t have to guess where the best angle is. You get direction, and you avoid the common mistake of spending too long walking when you could be set up for the shot.
One thing to consider: e-bikes and outdoor riding can add a bit of physical effort beyond just standing. If you prefer minimal walking or you get tired quickly, plan to pace yourself during the rest of the day. With multiple stops planned, energy management is part of getting great photos.
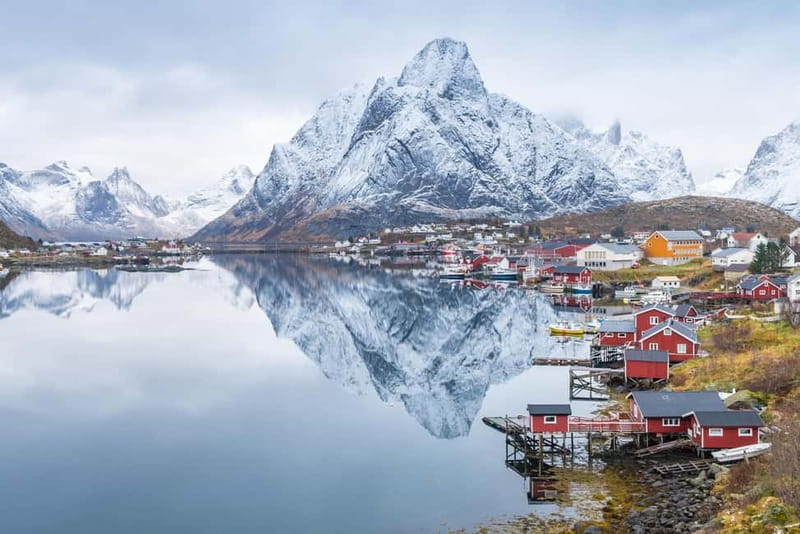
Reine viewpoint: a village of islands, bridges, and fishermen’s cabins
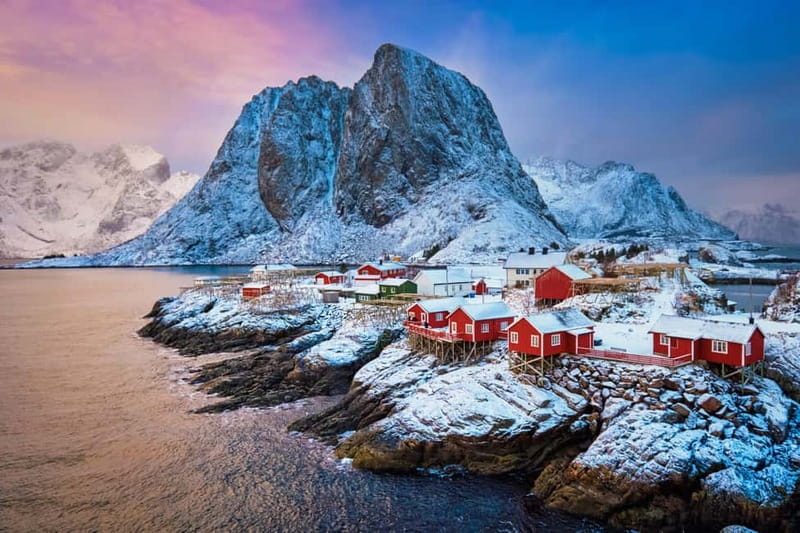
Then you head toward Reine, with time at a viewpoint designed for the Reinefjord views. Reine is described as an enchanting fishing village spread across small islands connected by bridges. The peaks are a major part of the visual story, and the rorbuer cabins anchor the scene like markers of working life.
This is where a photo guide earns their fee. You’re not only aiming at a pretty place. You’re trying to capture the layout: islands, bridges, and the way buildings cluster near the water. A viewpoint helps, because it gives you the “map view” your camera needs for a strong composition.
Also, this is a good time to slow down and shoot with intention. You can frame one shot that shows the bigger pattern, like bridges and islands, then a second that focuses on the fishermen’s cabins as the main subject. If you try to do only close-ups, you might miss the geography that makes Reine feel dramatic.
If weather changes, Reine can still work. Even when visibility softens, the island shapes and bridge lines often stay visible enough to get a strong photo. Just adjust expectations and shoot what the conditions allow.
Å, at the end of the Lofoten Islands: red cabins, cod-drying racks, and big coastal drama
Finally, you reach Å, described as a picturesque fishing village at the very end of the Lofoten Islands. The focus here is classic: red rorbuer cabins, cod-drying racks, and dramatic coastal scenery.
This stop has a different emotional tone than the earlier villages. By the time you arrive, you’ve already seen the rhythm of rorbuer colors and fjord water, so Å feels like the full final chapter. You’re seeing not just a scenic corner, but an Arctic working coastline with cod-drying racks as part of the visual language.
For photography, the key is to look for layers. Include cabins plus drying racks for a story shot. Or zoom out a bit more to show how the village sits against the coastline. Because this is the end of the road visually, the views often feel more “complete,” like the scene has less else to compete with.
One practical tip: give yourself a few minutes to settle in. Å is the stop where you might want more time than you get in a structured day. If you’re efficient earlier, you’ll end the tour feeling calmer and more satisfied.
Guide quality that makes the photos better, not just the views
The tour is led by a local English-speaking guide, and the tour focuses on photography help from a professional perspective. In practical terms, that means you’re more likely to get:
- direction on where to stand for the best view angle
- guidance on how to frame fishing cabins, rorbuer colors, and water reflections
- answers when you’re unsure about what your camera is doing in challenging coastal light
One detail I really like from guide feedback is that Lofoten Lights guide Lene has been praised for handling documentation in two languages with no problem. That kind of calm, organized communication matters on a photo tour, because it keeps the group moving and prevents confusion when you’re trying to shoot.
Small-group size, plus a guide who communicates clearly, is one of the highest-value parts of this kind of day. It turns the tour from a bus ride into a plan you can follow.
Price and value: what $162 buys you in real time
The price listed is about $162 per person for a 7-hour tour. That’s not the cheapest way to see Lofoten, but it can be good value if you want the structure and the help.
Here’s what’s included that you would otherwise have to figure out:
- a local guide who works in English
- pickup and drop-off in Svolvær (Svinøya Rorbuer, Thon Hotel Lofoten, or Svolvær Tourist Information)
- transportation by minivan
- small groups, with a maximum of 8 adults
- guided stops, including a 20-minute Sakrisøy segment
What’s not included: meals, hotel costs, and entrance fees for other attractions. So if you’re trying to keep the trip super budget-tight, you’ll need to plan food yourself.
To me, the best value is for photographers who want more than quick snapshots. If you already know your way around Lofoten, you could DIY. But if you’d rather spend your energy composing photos instead of figuring routes and parking, this kind of guided, organized photo day is a smart spend.
What to bring and how to prep for a camera-first day
The tour info is clear: bring your camera. That’s the main “gear” expectation.
Your best prep is mental, not technical. Decide what you want to shoot at each stop:
- beach scenes and reflections
- rorbuer color contrast (red and yellow)
- village layouts with islands and bridges
- end-of-the-road coastal detail in Å
Also, keep your schedule realistic. This is a 7-hour day with multiple stops, so you’ll get more from a calm pace than from rushing.
Should you book this Lofoten Gems Photo Tour?
Book it if you want a guided photo route that hits the best-known fishing villages and beaches around Svolvær, Hamnøy, Sakrisøy, Reine, and Å, in one compact day. The small-group size, English guide, and minivan logistics make it easier to focus on photos instead of figuring out timing.
Skip it if you prefer slow travel, one long stop at a time, or you hate moving between viewpoints. Also, if you’re very sensitive to cold conditions and standing outdoors for photos, you may want to look for a shorter or more indoor-friendly plan.
If you fit the sweet spot of camera-first, organized, and small-group travel, this is the kind of Lofoten day you’ll remember for the images and the working-coast details, not just the distance you drove.
FAQ
How long is the Svolvær Lofoten photo tour?
The tour runs for 7 hours.
What is the group size?
It is a small group limited to a maximum of 8 adults.
What languages does the guide speak?
The live tour guide speaks English.
Where does pickup and drop-off happen?
Pickup and drop-off are in Svolvær. Options include Svinøya Rorbuer, Thon Hotel Lofoten, and Svolvær Tourist Information.
Is transportation included?
Yes. You travel by minivan, and pickup and drop-off in Svolvær are included.
What should I bring?
Bring a camera, since photography is the focus of the tour.
Newly marked on the map for Svolvaer
- Lofoten Highlights Photo Tour – Reine, Hamnøy & Å★ 4.5 · 7 reviews
- Lofoten Ultimate Aurora Hunt★ 4.0 · 9 reviews
- Sea Eagle Sunset Cruise★ 4.0 · 9 reviews
- Private Full Day Sightseeing Tour from Svolvær to Å★ 5.0 · 12 reviews
- Evening Kayaking★ 4.5 · 12 reviews
- Lofoten VIP PRIVATE tour from Svolvaer★ 5.0 · 13 reviews
- Lofoten Highlights Photo Tour – Henningsvær & Haukland★ 5.0 · 14 reviews
- Svolvær: Sami Culture and Reindeer Experience★ 4.7 · 14 reviews
Photography Sessions, compared.
Northern Lights Safari with Expert Guides and Photos
Read our review →
Northern Lights Pioneer Tour with Photos Included
Read our review →
Northern Lights Chase with Photos and Bodysuits
Read our review →
Northern Lights Chase in a Mercedes Benz with Photos
Read our review →
Northern Lights Tour with Local Stories & Photos
Read our review →
Northern Lights Bus Tour with Free Photography
Read our review →
Arctic Nature Roadtrip with Photos & Scenic Lunch
Read our review →
Tromso Northern Lights Minibus Chase Small Group Tour with Photos
Read our review →Browse the lists this tour appears in