
Reviewed · TROLLTUNGA HIKING TRIPS
Overnight: Trolltunga Via Ferrata Sky Ladder Glamping
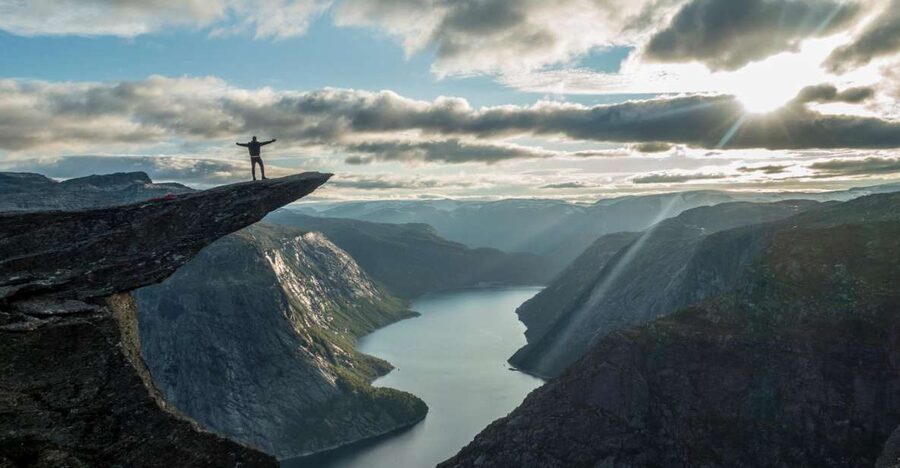
If you like your Norway trips with effort and payoff, this fits. I love how the Trolltunga viewpoint catches the last light as the white Folgefonna glacier slips into shadow. I also love the via ferrata and sky ladder climb, a real rock-face route that makes you earn those dramatic views. One possible drawback, the viewpoint photos can be tricky, especially if wind or angles limit your shot timing.
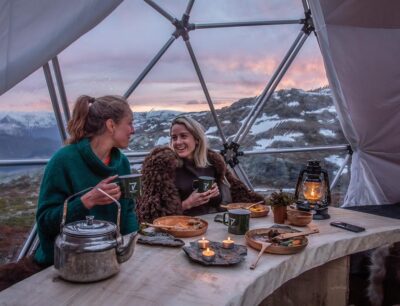
What I really remember is the comfort layer. You get the adventure day, then you land in an arctic dome with a see-through ceiling, so you wake up to a new sky instead of a dark tent wall. Evening time at the Trolltunga Sunset Dome brings talks and Norwegian fairy tales, which is a nice change from just standing around for views.
In This Review
- Key things that make this overnight special
- The payoff viewpoint, Trolltunga with Folgefonna in frame
- The first walk from Skjeggedal to Ringedalsvatnet, your legs get warm
- The steep approach, then safety brief, then the via ferrata starts
- The main event: 250 meters up via ferrata and sky ladder
- How the arctic domes work: sleep private, social in the dome
- Sunset Dome evening: talks, Norwegian fairy tales, and quiet viewpoint time
- Breakfast to trail back: a second visit, then home by afternoon
- Price and value: what $519 includes, and what you must pay for yourself
- Gear and weather reality for Hardangervidda
- Who should book this, and who should skip it
- Small logistics you should plan around
- Should you book Trolltunga Via Ferrata Sky Ladder Glamping?
Key things that make this overnight special
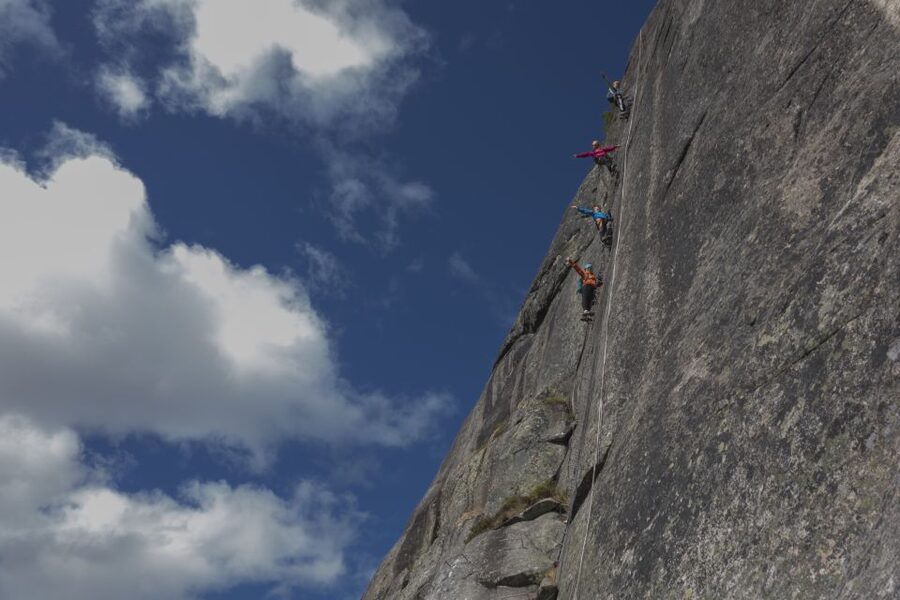
- Via ferrata plus sky ladder for a 250-meter rock climb, not a casual hike gimmick
- Sunset dome evening with talks and Norwegian fairy tales, plus quieter time at Trolltunga
- Arctic domes with a see-through ceiling, so mornings feel like part of the experience
- One-hour lake walk at Ringedalsvatnet, a calm warm-up before the steep stuff
- Dinner and breakfast in the same dome area, with private sleeping options so you can rest properly
- Guide-led safety and pacing during a weather-sensitive day on the Hardangervidda plateau
The payoff viewpoint, Trolltunga with Folgefonna in frame
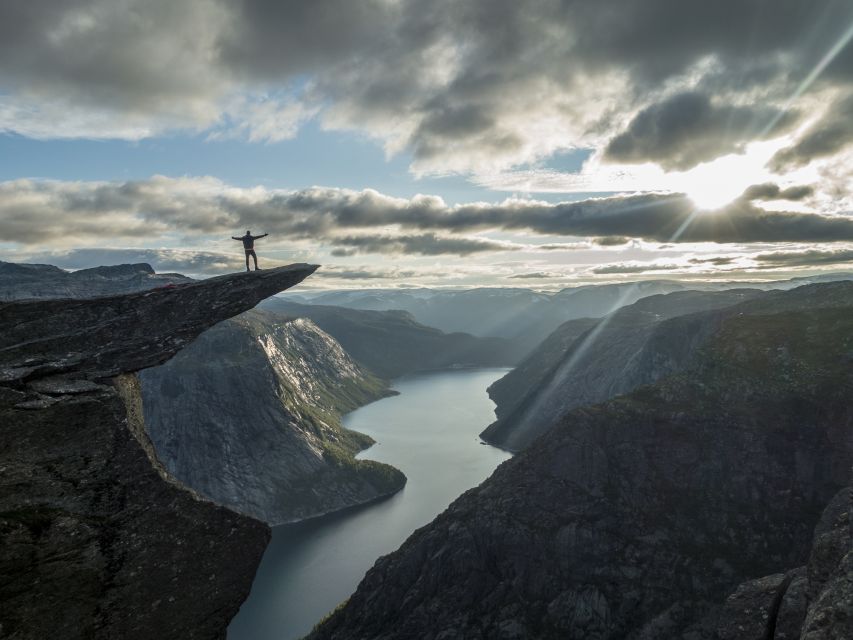
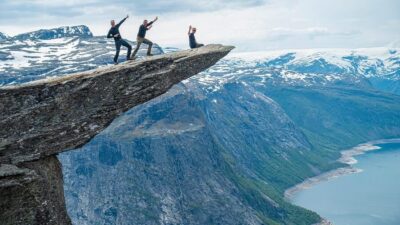
Trolltunga is one of those places that makes every photo feel like it should come with instructions. The trick here is timing. You’re aiming for that moment when the sun disappears behind the white Folgefonna glacier, and the whole scene shifts fast from bright to ghosty cold light. When you’re up there after the main crowds have thinned, the viewpoint feels calmer and more personal.
The best part, for me, is that the climb and the final walk actually “set up” the viewpoint. You’re not just going to a platform. You’ve worked your way up through steep terrain, then you get a clear reward: the glacier in the distance and fjord country opening up below.
Keep in mind, if you’re expecting postcard-perfect pictures every minute, you may have to accept some limits. One reviewer called out that Trolltunga photos weren’t great, which matches what I’ve seen in cliff areas where wind, glare, and crowds (even reduced crowds) can mess with framing.
The first walk from Skjeggedal to Ringedalsvatnet, your legs get warm
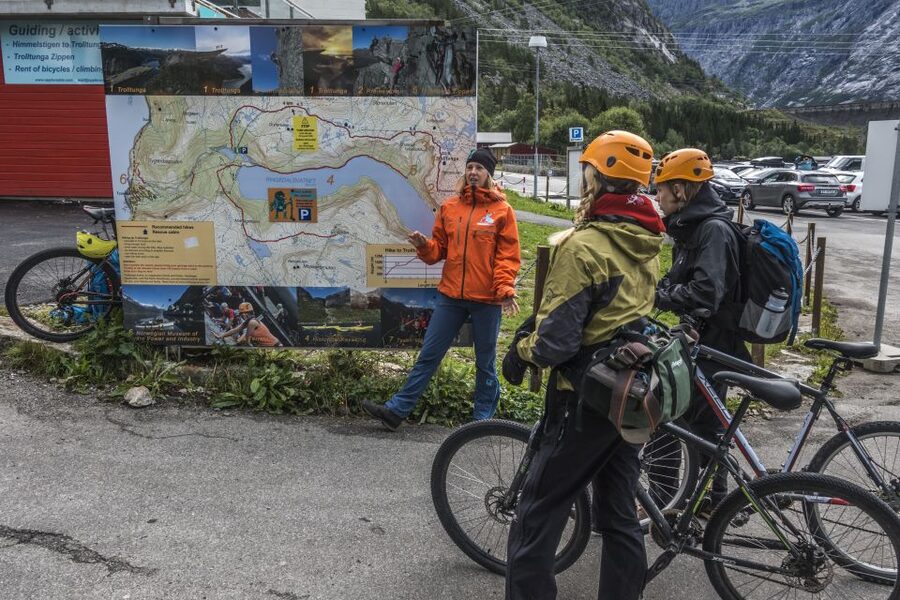
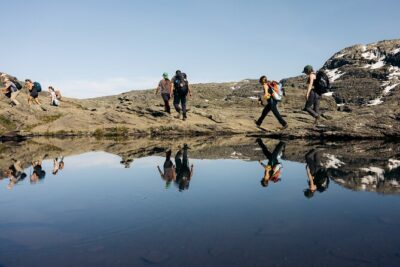
Your day starts at P2 parking in Skjeggedal, meeting your guide at the P2 parking area. Then you ease into the route with a scenic one-hour walk along Ringedalsvatnet lake. This stretch matters more than it sounds. It lets you settle your pace and get your boots and breathing synced before you hit the steep 1 km approach.
You’ll also get early landscape clues, water level, valley shape, where the weather is coming from. That’s useful later, when the route turns rocky and you want to understand what the terrain is doing underfoot.
If you tend to start hikes too fast, this lake walk is a good moment to slow down on purpose. Take small steps. Save your energy for the climb and the via ferrata section that comes next.
More long hauls out to Trolltunga:
The steep approach, then safety brief, then the via ferrata starts
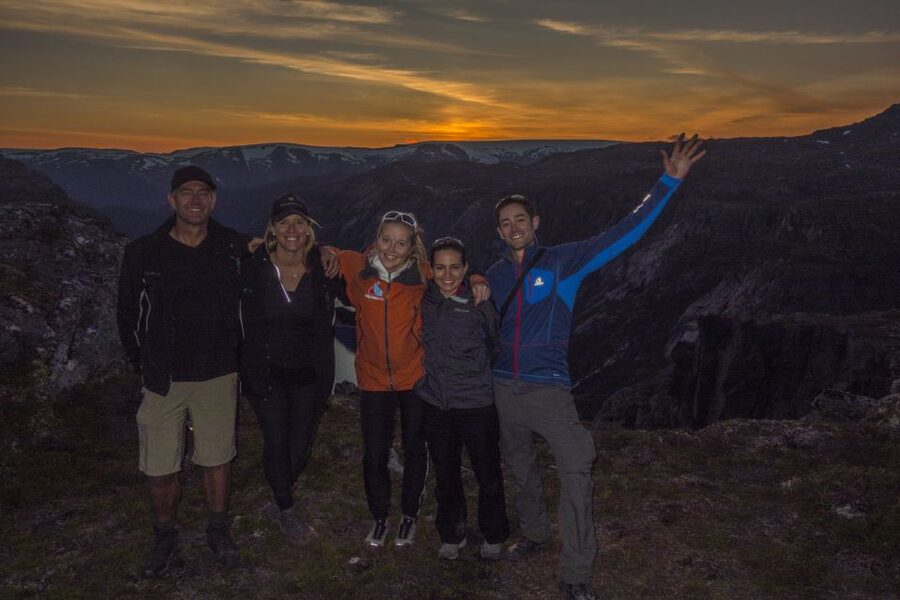
After the lake walk, you tackle a steep 1 km path toward the Trolltunga via ferrata and sky ladder. This is where the day starts to feel like an actual expedition rather than a sightseeing stroll.
Plan on essentials before the climbing begins. You get a break and essential safety instructions from your guide. That matters because a via ferrata is controlled exposure. You’re still moving under your own power, but the route is built for grip and connection, and you’ll want to follow the guide’s rhythm.
A reviewer described the first hike on rocks as very hard until reaching the via ferrata. I’d take that seriously. The early rocky section can feel punchy, especially if you’re not used to uneven footing or if you come in undertrained. Think of it as the price of admission to the truly special parts.
The main event: 250 meters up via ferrata and sky ladder
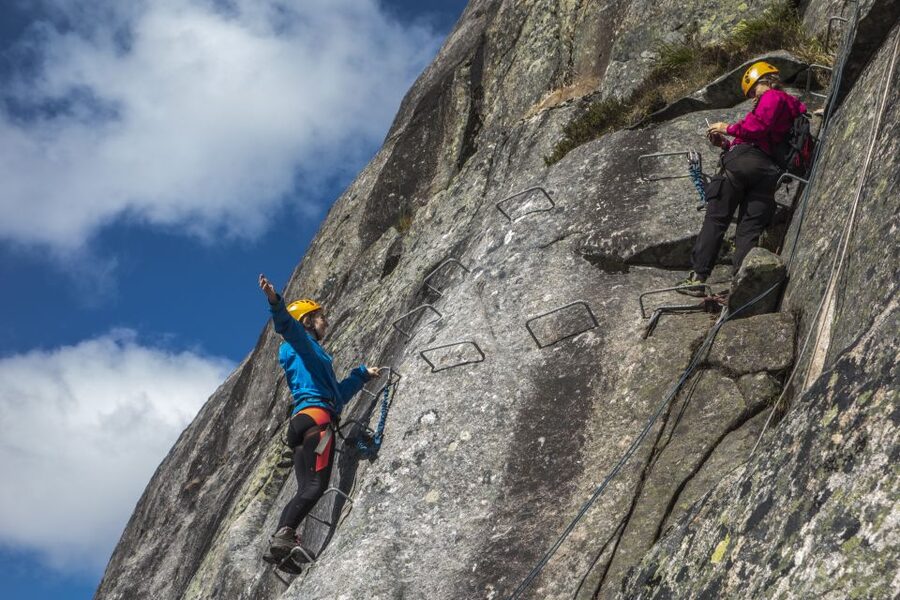
The headline is the climb, via ferrata plus sky ladder, on a rock face with a total climb of about 250 meters. This is not a “look and touch” experience. It’s a high-adrenaline route that uses ladders and fixed features so you can climb confidently while still feeling the exposure.
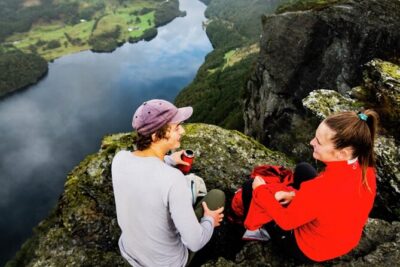
What you’ll love most is the blend of movement and view. As you ascend, the route gives you widening views: the blue lake below, the Ringedalen valley, and the distant Folgefonna glacier. The scenery isn’t just a background. It’s part of your wayfinding, because you can see how the land folds away behind you.
A big confidence boost is how your guide works during the climb. One reviewer specifically praised Ingrid, saying she was calm and funny and kept the pace so it didn’t feel pressured. That kind of leadership makes the difference between “I’m scared” and “I’m focused.”
If you’re considering this, don’t treat it like a casual photos stop. You’ll need the stamina to keep going for roughly two hours of climbing and then a short walk after. You don’t need to be an athlete, but you should respect that it’s intense.
How the arctic domes work: sleep private, social in the dome
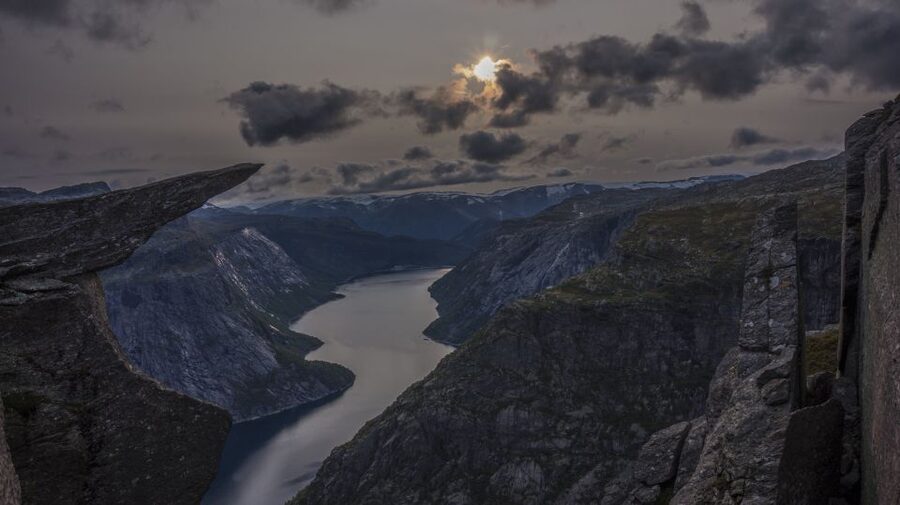
After about two hours of climbing and a short walk, you reach the cozy arctic domes. This is where the overnight becomes more than a hike with a tent.
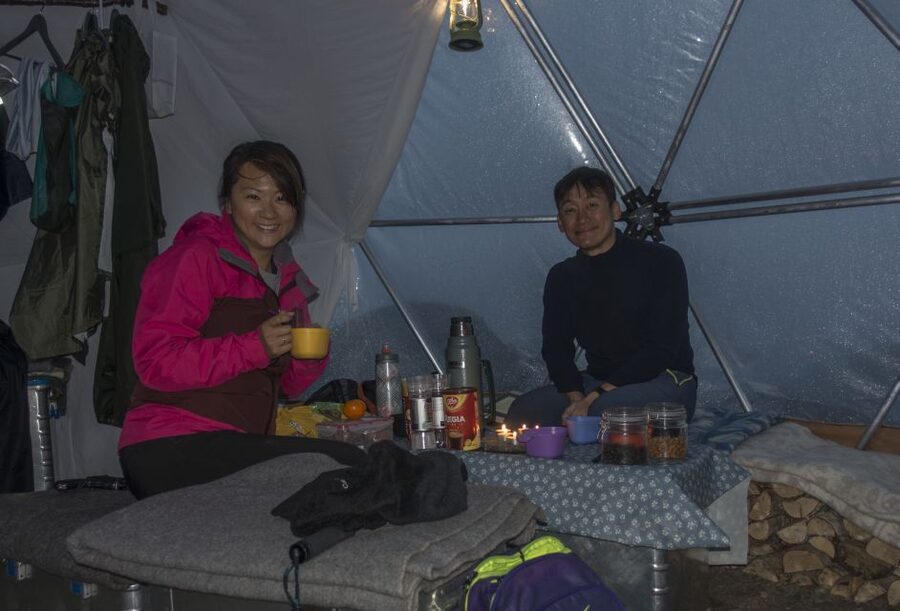
The domes have six sleeping spots each, and you can request a normal two-person tent for sleeping. The key point is separation: the social time, dinner, and breakfast happen in the dome area, while sleeping can be private. That’s a smart setup. You get group atmosphere without losing your rest.
When you arrive, you’ll have warm beverages, hot or cold, while you take in the scenery. Then you hike the final stretch to Trolltunga so you can enjoy the viewpoint in tranquility, away from the crowds. This is a big deal. A lot of tours either do sunrise or do sunset. Here you get a managed chance to see Trolltunga without battling the biggest rush.
The see-through ceiling is the thing you’ll talk about later. It turns the night sky into part of the room, which is exactly what glamping should do when the destination is already extraordinary.
Still ahead on the route through Odda:
- Trolltunga Day Hike
★ 5.0 · 42 reviews - Trolltunga: Trolltunga Summer Hike
★ 4.9 · 32 reviews - 5-Hour Guided Hike Tour to Himakånå The Mini Trolltunga
★ 5.0 · 26 reviews - Trolltunga Winter Day Hike
★ 5.0 · 18 reviews
Sunset Dome evening: talks, Norwegian fairy tales, and quiet viewpoint time
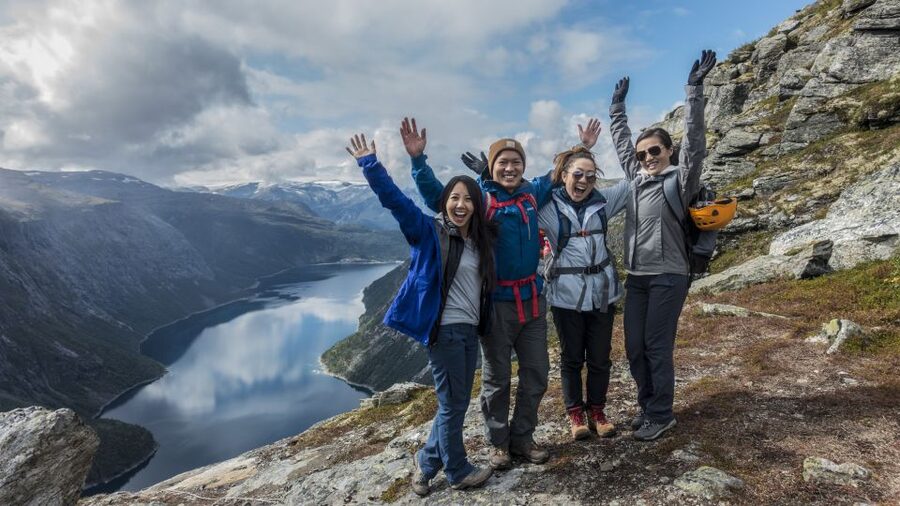
Evening is at the Trolltunga Sunset Dome. Expect talks and Norwegian fairy tales as part of the experience. It’s practical too. After hours of climbing, sitting with a small structured program helps you decompress without losing the meaning of being there.
Then you’ve still got a chance to return to Trolltunga in a quieter way. The overall theme is pacing. You’re not stuck on the cliff all day waiting for light. The schedule is built to help you catch sunset colors and then settle in for a night that isn’t just “survive until morning.”
If you’re the kind of person who likes stories and context, this part adds warmth. If you’re more of a silent observer, it still works because the main goal is the view, and you’re not required to be loud or perform.
Breakfast to trail back: a second visit, then home by afternoon
In the morning, you’ll either wake up to coffee or join your guide for a second visit to the iconic Trolltunga. Then you eat breakfast, pack up, and start the trek back.
Your expected arrival back to civilization is between 2 PM and 3 PM. That’s a helpful detail because it keeps this from feeling like a two-day ordeal. Yes, it’s a long day overall, roughly 26 hours, but you’re not stuck extending into a third night.
This also means you’ll want to plan for a full travel day after. Build in buffer time for getting warm, showering, and eating something substantial once you return.
Price and value: what $519 includes, and what you must pay for yourself
At $519 per person, this is a premium outdoor day. You’re paying for more than a ticket. You’re paying for a guided via ferrata and sky ladder climb, safety support, and a real overnight setup.
Included in the price:
- Dinner and breakfast
- Hiking poles
- A guide
- Tent and sleeping bag
Not included:
- Two lunches and snacks
Here’s the value logic. If you try to assemble this yourself, you’d still need guide-led route safety, equipment support, and an overnight base that makes sense for Trolltunga timing. This tour packages the hardest part, the climbing and timing, then adds comfort with food and glamping domes.
The one “hidden” cost is that you must bring the lunches and snacks. That’s not a dealbreaker, but it is a must-do. Pack them like you mean it, because you’ll be moving for a long time and you need fuel that agrees with your stomach.
Gear and weather reality for Hardangervidda
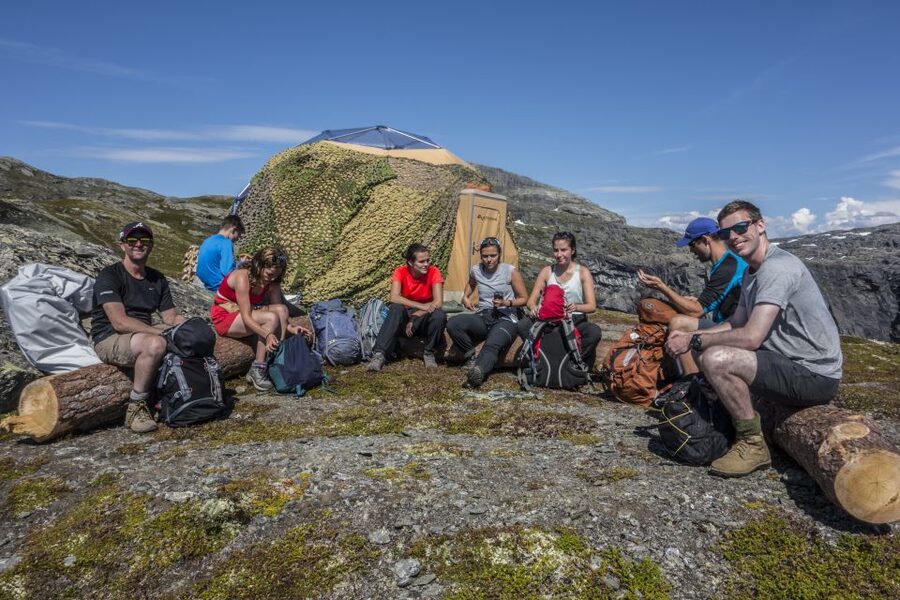
The weather at the Hardangervidda mountain plateau can be rough. That’s not a vague warning, it’s the nature of the region. Come prepared for cold, wind, and wet conditions, even if the forecast seems tame earlier.
You’ll want warm clothing and waterproof layering. The recommended gear list includes wool socks and woolen thermals, wind jacket and wind pants (Goretex recommended), running gloves, a cap or hat, waterproof hiking boots, and a backpack. They also advise a beanie that covers your ears, warm gloves or mittens, sunglasses, sunscreen, and extra warm clothes.
Two practical tips that save trips:
- Bring dry wool socks. Change if you get damp.
- Pack layers so you can handle both hard effort and quiet waiting. Via ferrata climbing burns energy, then you pause for safety guidance, photos, and sunset.
Also, there are rules. Drones are not allowed. Alcohol and drugs are not allowed. Keep that in mind if you were thinking of turning it into a celebration.
Who should book this, and who should skip it
This is best for teens and adults who can handle a serious hiking day and the mental focus of a via ferrata. Minimum age is 15, and it’s not suitable for children under 15.
You’ll also benefit if you do some training beforehand. The tour notes that you should be prepared for a hike of 10 to 12 hours. Even if you don’t clock that exactly, it’s a good benchmark for stamina and confidence on uneven ground.
Who will love it:
- You want Norway that mixes effort with comfort
- You like guided climbing where someone handles safety and pacing
- You want a quieter Trolltunga experience rather than only a daytime crowd shuffle
Who should think twice:
- You are not ready for steep rocky terrain before the via ferrata
- You have weak tolerance for cold or wet conditions and can’t layer properly
- You want mostly easy walking and photo stops
Small logistics you should plan around
Meeting point is the red and blue building with the Trolltunga Active sign in front. You also meet the guide at P2 parking in Skjeggedal as your official start.
There’s also an informational meeting the evening before your tour at Trolltunga Hotel in Odda at 9:00 PM. It’s advised but not compulsory. If you can go, it’s worth attending because it helps you understand what to expect, what to pack, and how the day will flow.
Tour language is English and Norwegian, and it’s a live guide experience with private group format.
Should you book Trolltunga Via Ferrata Sky Ladder Glamping?
If you want the iconic Trolltunga view and you’re willing to earn it with a via ferrata and sky ladder climb, I think this is a strong booking. The price is high, but it includes the guide, the climbing support, and the overnight setup, and it removes a lot of planning headache.
I’d especially recommend it if you like structure. You get lake warm-up, steep approach, guided safety, a major rock-face ascent, then you land in a comfortable dome with real food. Then you finish with sunset dome talks and a calmer second viewpoint, followed by a morning repeat before heading back.
Skip it if you’re hoping for an easy hike, you dislike exposure, or you aren’t prepared for rough mountain weather. Also, be honest about photo expectations. The viewpoint is incredible, but getting perfect pictures is never guaranteed on a windy cliff.
If you’re the type who shows up prepared, this tour turns Trolltunga into more than a stop. It becomes a full story you’ll still be talking about long after the trail dust is gone.
Newly marked on the map for Odda
- Trolltunga: Trolltunga Sunset Glamping★ 4.9 · 15 reviews
- Trolltunga Winter Day Hike★ 5.0 · 18 reviews
- Trolltunga: Trolltunga Summer Hike★ 4.9 · 32 reviews
- Trolltunga Day Hike★ 5.0 · 42 reviews
- Trolltunga Classic Overnight Hike★ 5.0 · 336 reviews
- Helicopter Over Trolltunga and Waterfall Sightseeing from Bergen★ 5.0 · 11 reviews
- 5-Hour Guided Hike Tour to Himakånå The Mini Trolltunga★ 5.0 · 26 reviews
- Odda: Full-Day Trolltunga Via Ferrata & Sky Ladder Adventure★ 4.8 · 115 reviews
Trolltunga Hiking Trips, compared.
Odda: Full-Day Trolltunga Via Ferrata & Sky Ladder Adventure
Read our review →
5-Hour Guided Hike Tour to Himakånå The Mini Trolltunga
Read our review →
Browse the lists this tour appears in