
Reviewed · CANYONING & RAPPELLING TRIPS
Geiranger: Rappelling tour with epic view
One cliff, two skills, and a view you will remember. This Geiranger rappelling tour pairs steep rope-assisted climbing with real rappel time, then drops you back toward town with the fjord still in your head. I love how the day feels both controlled and adventurous, and how the guides, like Simona and Phillip, stay calm when the path gets hard.
Two things I like a lot: the aid-climbing approach (with a jumar) gets you moving upward in a way that feels fair for most people who are willing to work, and the payoff at Flydalsjuvet is all about perspective, not crowds. The only real drawback is that the hike is steep and you need arm strength for sections where you rely on rope clamps, plus it is not a fit for everyone physically.
You start at the guide office by the Dynamite Waterfall, get your gear and safety briefing, then spend the next hours earning a cliffside viewpoint before you practice and progress into vertical rappelling. If you hate exposure or you have heart problems, or if you are over 110 kg, you will want to choose something else.
In This Review
- Key highlights you’ll feel right away
- Flydalsjuvet: the viewpoint you reach by climbing, not driving
- Meeting at Geirangervegen 139, right by the Dynamite Waterfall
- Rope-assisted climb and jumar aid climbing, where your arms get involved
- Midway breakthrough: going alone above the crowds
- The “secret path” photo moment near the cliff edge
- From Queen’s Chair to the intro wall, then two 50 m rappels
- What to bring: boots, gloves, and water you can fill
- Price and value: about $146 for gear, guidance, and real vertical time
- Who this tour suits best (and who might not love it)
- Final call: should you book this Geiranger rappelling tour?
- FAQ
- Where do I meet for this tour?
- How long is the tour?
- Is all equipment provided, and is there a safety briefing?
- Do I need previous rappelling experience?
- What are the main rappelling heights?
- Who should not book this activity?
Key highlights you’ll feel right away
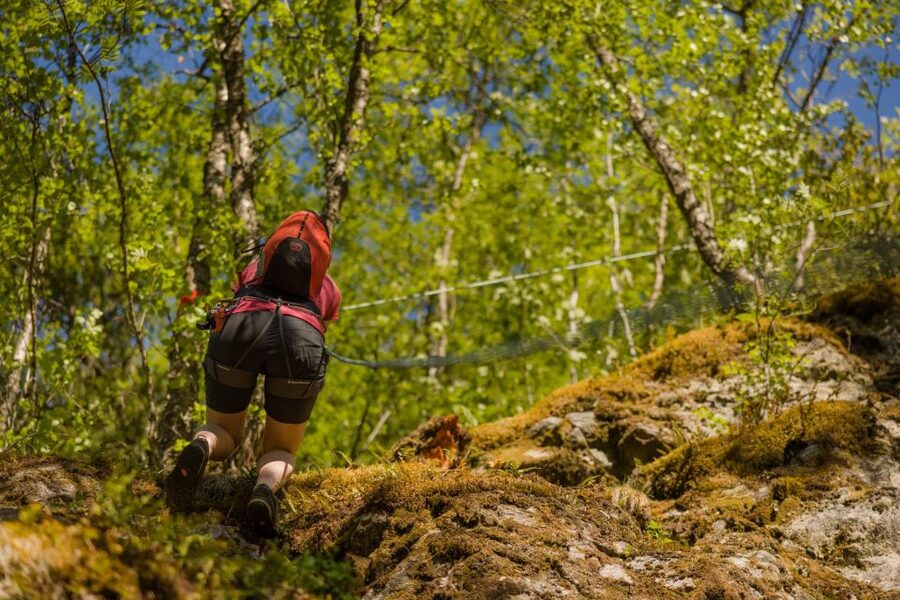
- Jumar aid climbing with rope security, so the steep sections are demanding but managed
- Flydalsjuvet viewpoint with near-empty vibes during the climb, not just at the top
- A guide-led secret photo spot near the cliff edge for a very personal shot
- Rappelling progression, starting on a soft introduction wall
- Two 50 m rappels back down toward the forest, exposed but run as safe systems
Flydalsjuvet: the viewpoint you reach by climbing, not driving
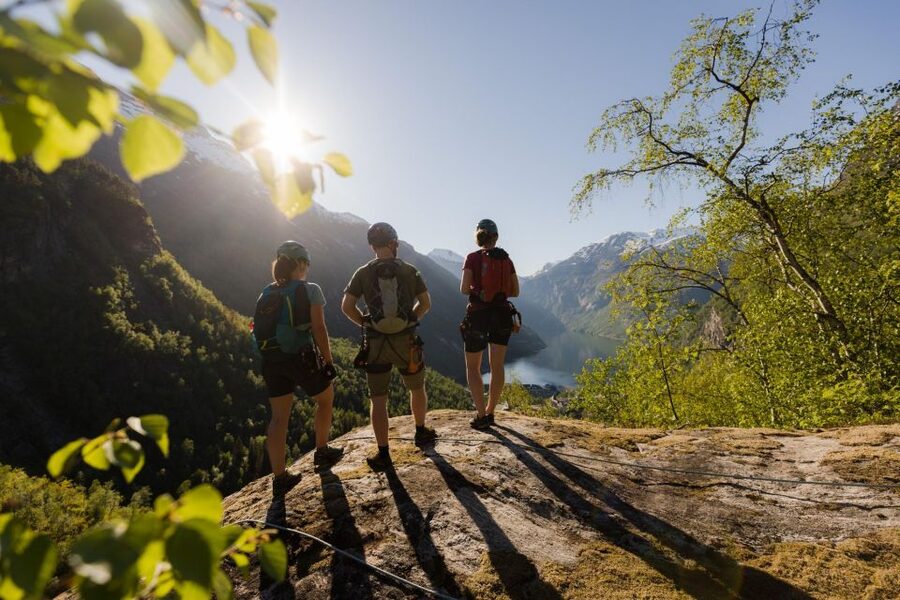
Geiranger is famous for big, postcard views. What makes this tour special is that you earn one of the best perspectives by moving up the canyon route yourself, with rope security most of the way.
The payoff is at Flydalsjuvet. In summer, thousands of people drive to the canyon viewpoint area every day. Here, the tour style keeps you moving upward so you can enjoy the view without fighting the constant stream of tour groups, and you keep that quiet focus until you reach the photo and rest moment.
It is not just about seeing the fjord. You get a feel for the scale of Geiranger from above, with the surrounding walls and water lines reading like a map you are standing inside. That context is what makes the photos look different from the usual quick stop-and-go snapshot.
Meeting at Geirangervegen 139, right by the Dynamite Waterfall
The meeting point is the Explore Geiranger guide office at Geirangervegen 139 in Geiranger. It is about a 15-minute walk from the harbor, and the tour does not provide transport from the harbor to the office, so plan to be on foot at the start.
When you arrive, you attend a safety brief with the whole group. After that, your equipment gets handed out inside the office. I like this approach because it avoids last-minute gear fumbling in the parking area, and you start the day feeling set up, not rushed.
Groups are small, max 6 people, and the tour runs as a private group. The instructor teaches in English, which matters on a safety day when you need instructions you can trust immediately.
More ropes rigged over Norwegian gorges:
Rope-assisted climb and jumar aid climbing, where your arms get involved
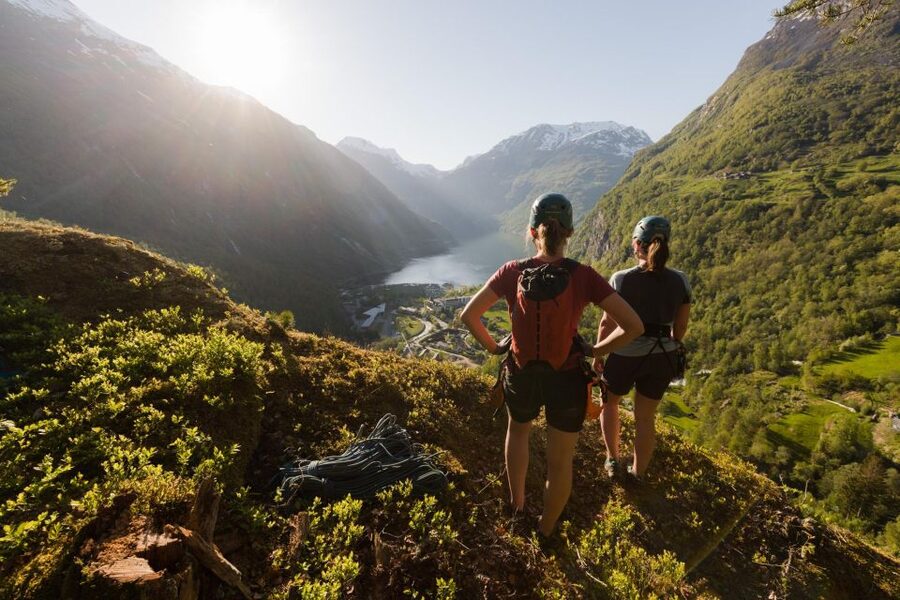
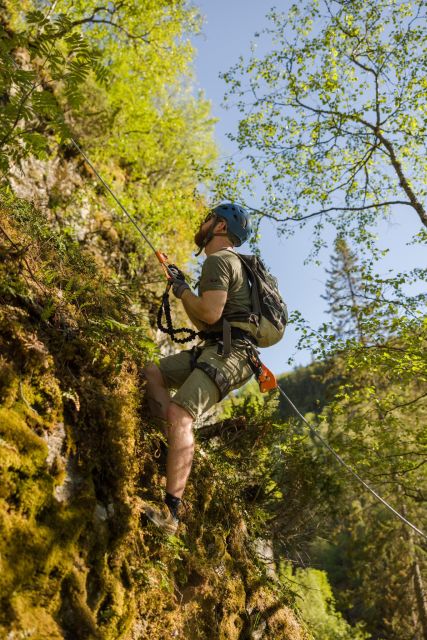
Most of the hike uses rope security. Instead of “just hike and hope,” the route is set up with rope clamps to help you move up along the line through steep sections.
You will use a jumar for aid climbing. In plain terms, this is the part of the day that turns a hike into a guided climbing system. Your legs do a lot of the work, but your arms still have a job, especially when you move through sections where the rope clamps are what help you progress safely.
You are completely safe, but you should be honest with yourself about effort. The guide will keep you on the right sequence, and you will have systems and checkpoints, but you still need the strength and stamina to do the moves correctly.
As you go up through the forest, the view gradually takes over the whole horizon. That slow reveal is part of the fun, and it helps your brain shift from “I’m working” to “I get why people come here.”
Midway breakthrough: going alone above the crowds
Once you get midway up, the view becomes seriously impressive. This is when Geiranger stops being background scenery and starts feeling like the main event.
During the summer, the canyon viewpoint area sees huge visitor numbers, so many people only experience the view from the same few roadside angles. On this tour, you spend the climb moving toward the viewpoint at your own pace as a small group, and you get the chance to enjoy the upper view all the way up without constant crowd pressure.
Another detail I appreciated is the way the guide manages timing. You are not rushing past the best angles. You are working upward, then you arrive, and you get time to pause, look, and breathe before you shift to rappelling.
The “secret path” photo moment near the cliff edge
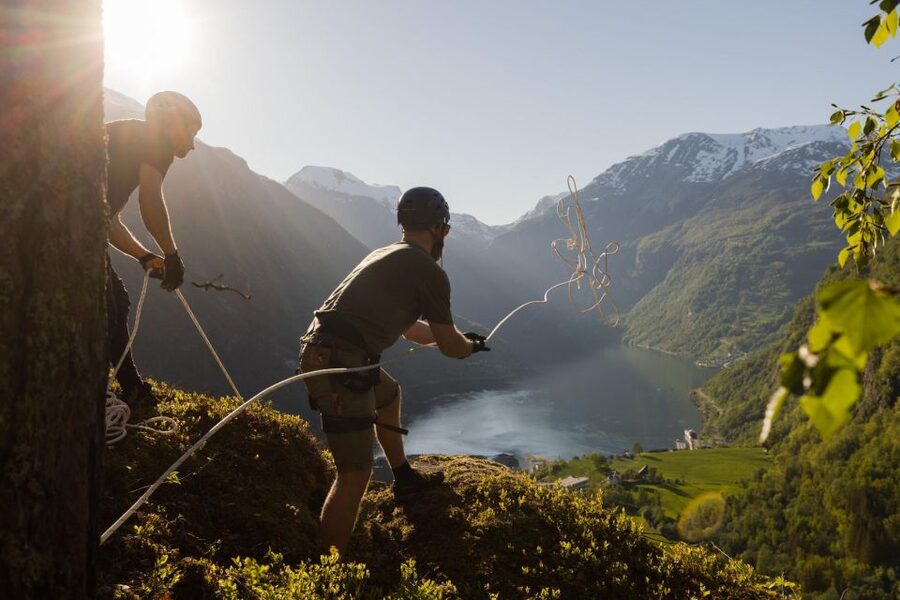
When you reach the viewpoint, the guide shows a secret path to a photo location. The goal is a very unique picture of yourself near the edge of the cliff, in a way that feels more personal than a generic viewpoint selfie.
This is also when you rest. You get a moment to steady your breathing and reset before the next skill phase, which is smart. Rappelling is technical, so anything that reduces panic and saves your energy helps.
If you enjoy taking photos but hate slow, crowded scenes, this part is a good match. You get a planned photo spot, but you still control the pace once you are there.
Where the path branches next in Geiranger
- Geiranger: Dalsnibba, Flydalsjuvet, Eagle Bend & Fjords Tour
★ 4.6 · 2,329 reviews - Geiranger: Fjord and Waterfalls Sightseeing Boat Trip
★ 4.4 · 879 reviews - RIB Geiranger – Fjordsafari
★ 4.8 · 807 reviews - Geiranger: Guided Geirangerfjord Boat Tour
★ 4.7 · 728 reviews
From Queen’s Chair to the intro wall, then two 50 m rappels
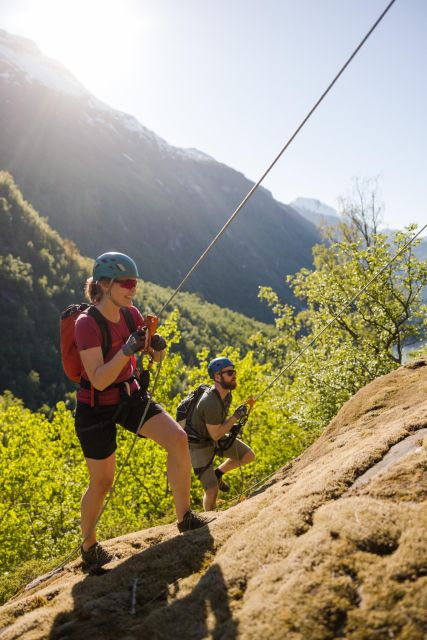
After your viewpoint break and photo time, the guide brings you back down past the Queen’s Chair area toward the introduction wall for rappelling.
This is where the day turns from hiking into vertical work. The introduction wall is a soft, gradual entry to rappelling. Before you move to the big wall, you master the equipment and the movements your guide wants you to use. I like that progression because it builds confidence before you ever reach the exposed drop.
Then come the main rappels. There are two 50 meter rappels on the big vertical wall. The systems are run as safe setups, but the experience is exposed, and you will be hanging over the canyon while you descend.
That exposure is the “price” of the incredible views. If heights make you freeze, this is the part where you will feel it most. If you can handle it with patience and focus, the descent becomes the unforgettable highlight: controlled motion, dramatic scale, and a clear line down to the forest about 100 altitude meters lower.
The last bit of the return follows a road back toward the guide office. It is a practical cooldown, and it also gives your legs a break after hanging work.
What to bring: boots, gloves, and water you can fill
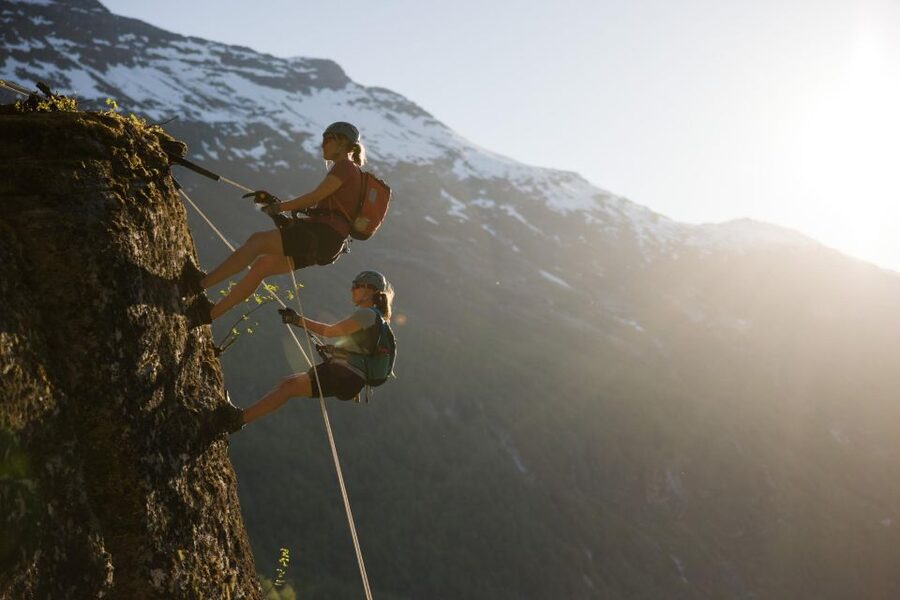
You do not want to show up unprepared here. Gloves are required for the rappelling and available for around $5 if you do not have them. Sturdy hiking boots are a must, because you will be doing steep, rope-secured climbing and then transitioning into rappelling steps and footing.
Think about how you dress for a cold, wet Norwegian mountain day. Even in summer, you can get chilly, especially after you stop moving for brief rests at the viewpoint.
Food and water are another practical piece. There is no food or water at the start. You can fill bottles midway during the tour, so bring something you can refill and drink from comfortably.
If you are the type who plans snacks for every outdoor activity, you might bring your own food for after, since the tour start is not set up as a picnic.
Price and value: about $146 for gear, guidance, and real vertical time
At about $146 per person for a 3-hour experience, this is not a casual activity. You are paying for two things that matter: specialized instruction and specialized safety systems, including all the equipment.
The value gets better when you consider what you actually do. This is not just a “look, don’t touch” tour. You climb using a jumar on rope-secured terrain, then rappel with a proper progression that leads to two 50 m drops. Add in that the group is limited to max 6 people and run as a private group, and you can see why the cost is structured this way.
You also pay for time in the view. The tour is designed so you are not stuck waiting in crowds to see the canyon from the usual angles. That near-empty experience at Flydalsjuvet is a real quality upgrade, not a marketing line.
Who this tour suits best (and who might not love it)
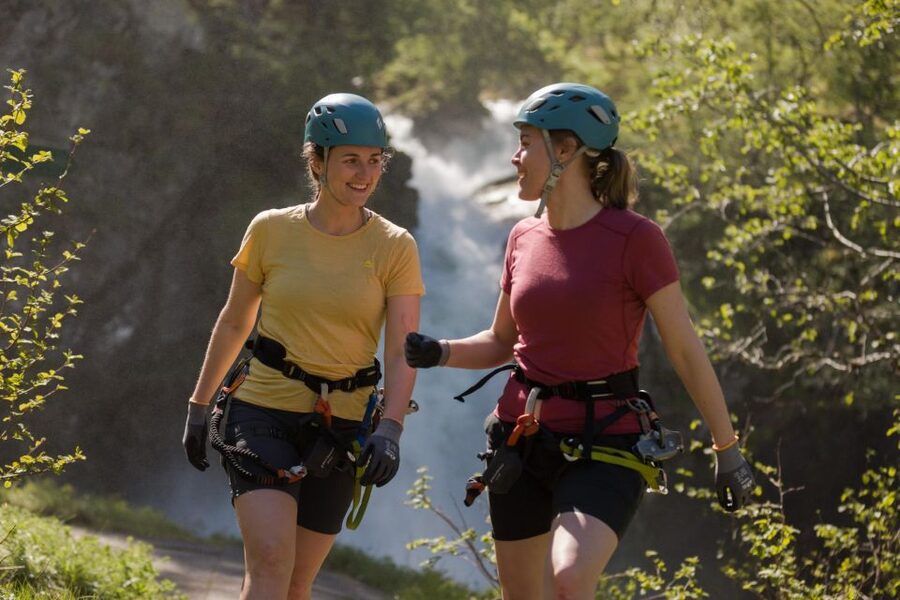
This is a strong fit if you want a high-view adventure without doing a whole multi-day expedition. You do not need to be an expert climber, but you do need to show up willing to work, follow instructions, and keep your focus during exposure.
It is also a good choice if you like clear progression. The intro wall rappels teach you before the big drop, and the guide keeps the day organized around skill and safety checks.
It is not a good match if any of the following apply:
- Children under 12
- Heart problems
- Over 110 kg (243 lbs)
- A strong aversion to exposed rappelling, since the 50 m descents are out in open air
As for age range and group vibe, you will find mixed groups. One family group that included teenagers and older adults described the guide as patient and step-by-step helpful, and that is what you want: a guide who adjusts to your pace without skipping safety.
Final call: should you book this Geiranger rappelling tour?
If you want a day that mixes a challenging climb, a planned photo payoff, and two real cliff rappels, I think this is worth booking. The combination of rope-secured aid climbing, an organized equipment progression, and small-group attention makes it feel like adventure with guardrails.
Book it if you can handle steep terrain and you are comfortable with heights long enough to do two 50 m rappels with focus. Skip it if exposure would push you into panic, if you are not able to meet the physical demands of the steep rope sections, or if health limits apply.
FAQ
Where do I meet for this tour?
You meet at the Explore Geiranger guide office at Geirangervegen 139, Geiranger. It takes about 15 minutes to walk from the harbor to the office, and transport from the harbor is not provided.
How long is the tour?
The duration is 3 hours. Starting times vary, so you should check availability for the specific slot you want.
Is all equipment provided, and is there a safety briefing?
Yes. You attend a safety brief with all guests, and all equipment is handed out inside the guide office.
Do I need previous rappelling experience?
You do not need prior experience. There is an introduction wall where you master the equipment before you move down to the bigger vertical wall.
What are the main rappelling heights?
You do two 50 meter rappels on the big vertical wall.
Who should not book this activity?
It is not suitable for children under 12, people with heart problems, or people over 110 kg (243 lbs). Gloves are required, and sturdy hiking boots are a must.
Newly marked on the map for Geiranger
- Geiranger to Ålesund Bus Tour (one way)★ 4.3 · 4 reviews
- From Hellesylt: Geiranger Highlights Tour with Photo Stops★ 3.3 · 5 reviews
- Hellesylt to Norangsdalen: Scenic E-Bike Tour★ 3.6 · 6 reviews
- All About the Fjords, in one tour by boat & bus from Ålesund★ 4.3 · 7 reviews
- Hellesylt: Fjord to Sky Scenic Escape to Stranda Gondola★ 4.4 · 8 reviews
- Geiranger: Beginner-Friendly Fjord Kayaking★ 4.9 · 16 reviews
- Geiranger: Kayak Tour with Waterfall Views★ 5.0 · 19 reviews
- Ljøen, Hellesylt: Ljøen Farm Tour★ 4.6 · 24 reviews
Canyoning & Rappelling Trips, compared.
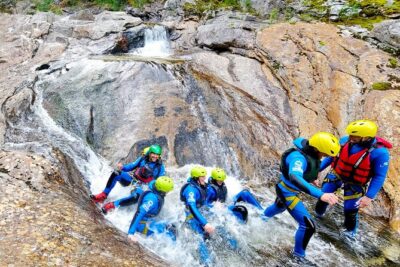
Canyoning Adventure in Hidden Mountain Rapids near Geilo
Read our review →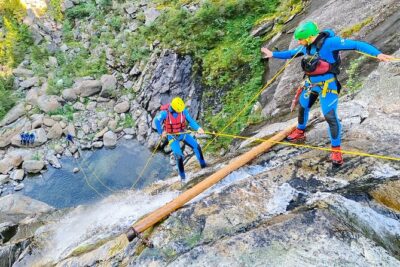
Extreme Canyoning With Waterfall Rappelling near Geilo in Norway
Read our review →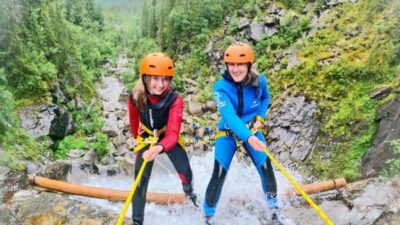
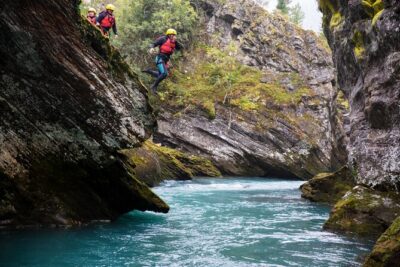
Canyoning in Valldal an Action Trough The Canyon
Read our review →Browse the lists this tour appears in